Are you a beginner in the world of jewelry-making, eager to learn some common techniques to kick-start your creative journey? Look no further! This article will provide you with a brief overview of some popular jewelry-making techniques that are perfect for beginners like yourself. Whether you’re interested in working with beads, wire, or even metal, we’ve got you covered. So grab your tools and let’s explore the wonderful world of jewelry-making together! If you’re new to the world of jewelry making, there are plenty of techniques you can try to create beautiful and unique pieces. From wire wrapping to beadwork, metal stamping to macrame, there are endless possibilities for creating jewelry that reflects your personal style. In this article, we’ll explore some of the most common jewelry-making techniques for beginners and provide you with a comprehensive guide on how to get started.

Check out our TOP three Recommended products
Wire Wrapping
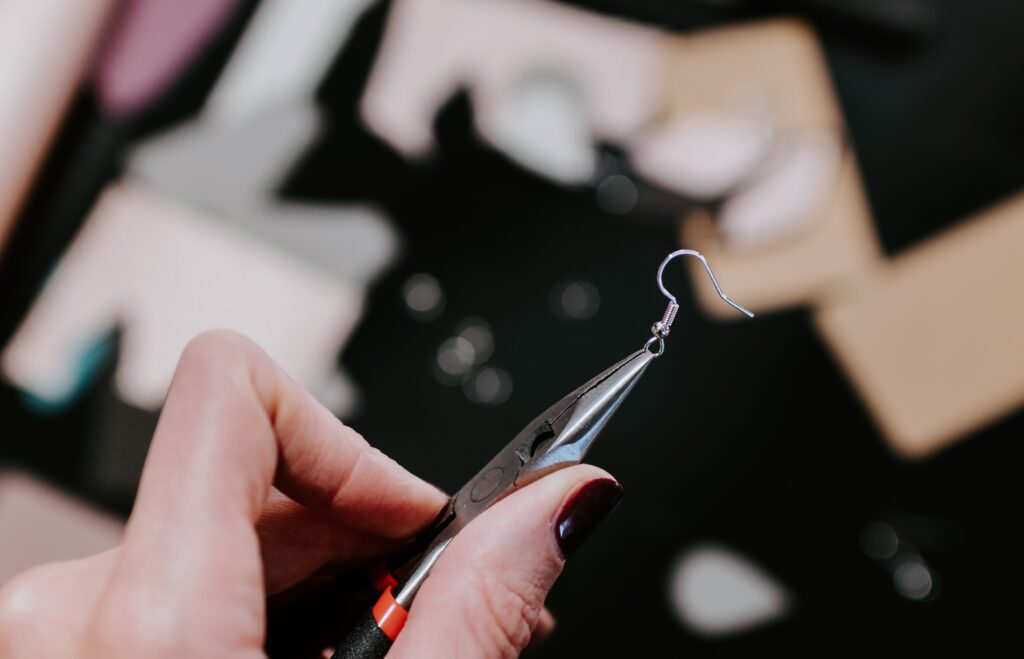
Wire wrapping is a versatile technique that involves using wire to create loops, wraps, and connections to hold beads or other elements in place. To start wire wrapping, you’ll need a few basic tools and materials. These include wire cutters, chain-nose pliers, round-nose pliers, and a variety of wires in different thicknesses and metals.
Choosing the right wire is essential for successful wire wrapping. You’ll want to consider the gauge (thickness), the type of metal (such as sterling silver, copper, or brass), and any special coatings or finishes. Thicker gauges are best for structural pieces, while thinner gauges work well for delicate designs.
Once you have your tools and wire, it’s time to get started with creating basic wire loops. This technique is the foundation for many wire wrapping designs. Begin by bending the wire into a loop using your round-nose pliers. Then, wrap the wire around the base of the loop to secure it in place. Practice creating different sizes of loops and experimenting with different wire-wrapping techniques to expand your skills.
With the basics of wire wrapping down, you can move on to wire wrapping beads. This technique involves wrapping wire around a bead or multiple beads to create a unique and secure attachment. Play around with different wrapping styles, such as spirals or cage wraps, to add visual interest to your designs. Once you’ve mastered wire wrapping beads, you can move on to making wire-wrapped pendants, where you create a decorative wire frame around a focal stone or object.
Stringing
Stringing is perhaps one of the simplest jewelry-making techniques and involves threading beads onto a stringing material to create a necklace, bracelet, or anklet. Choosing the right stringing material is essential for successful stringing projects. Options include nylon thread, silk cord, beading wire, or stretchy cord, each with its own advantages and drawbacks.
When it comes to stringing techniques, there are several options to explore. You can create simple, symmetrical designs by threading beads onto a string in a specific pattern. Alternatively, you can experiment with asymmetrical designs by mixing different types of beads and spacing them randomly for a more eclectic look.
Knotting between beads is an additional technique that can add both style and security to your designs. Knotting between beads involves tying a knot between each bead to prevent them from rubbing against one another and potentially causing damage. This technique is commonly used with silk cord to create elegant necklaces and bracelets.
If you prefer a more durable option, bead stringing wire is a great choice. This wire is made up of small stainless steel strands coated in nylon, providing strength and flexibility. Bead stringing wire is ideal for heavier beads or pieces that require additional durability.
To complete your stringing projects, you’ll need to add clasps and finishing touches. Clasps allow you to securely fasten your jewelry and come in a variety of styles, such as lobster clasps, toggle clasps, or magnetic clasps. Additionally, you can add decorative elements like crimp beads or bead caps to give your jewelry a polished and professional finish.
Check out our TOP three Recommended products
Beadwork
Beadwork is a versatile and creative jewelry-making technique that involves using various types of beads to create intricate designs. There are countless types of beads, including glass beads, seed beads, crystal beads, gemstone beads, and more. Each type of bead offers its own unique characteristics, colors, and textures.
To begin beadweaving, you’ll need a few essential tools, such as beading needles, beading thread, and a beading mat. Beading needles are long and thin, allowing you to easily thread beads onto the needle. Beading thread is specifically designed for beadwork and is available in different materials and thicknesses.
Basic beadweaving techniques include peyote stitch, brick stitch, and right-angle weave. These techniques involve threading beads onto the beading thread in specific patterns and formations to create beautiful designs. Start with simple projects, such as creating beaded bracelets using a single stitch, and gradually progress to more complex designs as you become more comfortable with beadweaving.
Making beaded earrings is another popular beadwork technique. Earrings allow for smaller, more intricate designs and can be a great way to showcase your beadwork skills. Experiment with different bead shapes, sizes, and colors to create unique and eye-catching earrings.
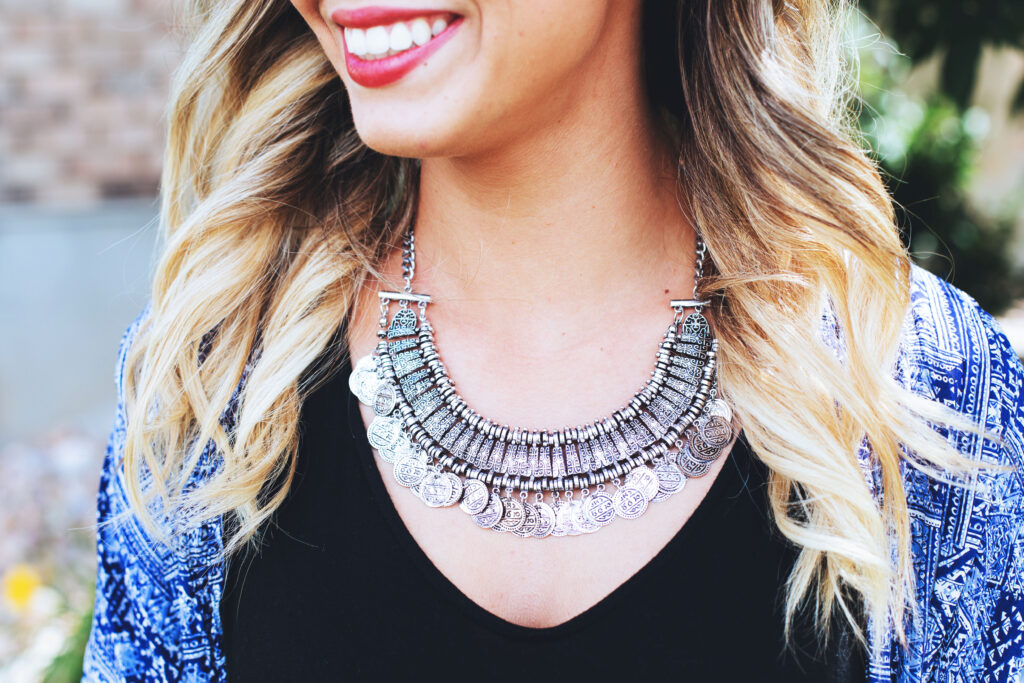
Designing beaded necklaces is the next step in your beadwork journey. Necklaces offer a larger canvas to express your creativity and can be customized to suit your personal style. Combine different types of beads, shapes, and lengths to create a statement piece that stands out.
Metal Stamping
Metal stamping is a technique that involves impressing designs or letters onto metal surfaces using steel stamps and a hammer. This technique is perfect for adding personalized touches to jewelry or creating unique focal pieces. To get started with metal stamping, you’ll need a few basic tools and materials.
The most essential tools for metal stamping include metal stamps, a hammer, and a bench block or stamping surface. Metal stamps are available in various designs, shapes, and sizes, allowing for customization and creativity in your designs. A hammer with a flat head is used to strike the metal stamps and create the impressions. A bench block or stamping surface provides a stable and sturdy surface for stamping.
Before beginning your metal stamping projects, it’s important to practice stamping on metal scraps to get a feel for the technique and ensure clear and consistent impressions. Experiment with different hammering techniques to vary the depth and appearance of your stamped designs.
Once you’re comfortable with metal stamping, you can move on to creating personalized metal-stamped jewelry. This can include stamping initials, names, meaningful symbols, or inspirational quotes onto metal blanks to create unique pendants, charms, or keychains. After stamping, you can further personalize your pieces by adding finishing touches such as patinas or polish for an antique or shiny finish.

Macrame
Macrame is a technique that involves tying knots with cords to create decorative designs and patterns. This versatile technique can be used to create bracelets, necklaces, keychains, and more. To get started with macrame, you’ll need to familiarize yourself with a few basic knots.
Some of the basic macrame knots include the square knot, the spiral knot, and the half-hitch knot. The square knot involves crossing two cords over one another and passing them through a loop to create a secure knot. The spiral knot creates a twisting effect by repeatedly tying square knots. The half-hitch knot is a simple knot that can be used for decorative purposes or to secure cords in place.
Choosing the right cord is crucial for successful macrame projects. Consider options such as nylon cord, cotton cord, or waxed cord, each with its own characteristics and durability. Thinner cords are more suitable for delicate designs, while thicker cords work well for statement pieces.
Start by creating macrame bracelets, which are perfect for practicing and refining your macrame skills. Experiment with different knot combinations, color combinations, and bead additions to create unique and personalized bracelets. Once you’ve mastered bracelets, you can move on to making macrame necklaces with longer cords and more intricate designs.
Adding beads to macrame is another way to enhance your designs and create visually interesting patterns. You can incorporate beads into your macrame by stringing them onto the cords or by knotting cords around them. Play around with different bead placements and sizes to add texture and flair to your macrame jewelry.
Polymer Clay
Polymer clay is a versatile and popular medium for creating unique jewelry pieces. This type of clay is available in various colors and can be molded, sculpted, and baked to create durable and vibrant jewelry components. To get started with polymer clay, you’ll need a few basic tools and materials.
Choosing the right clay is crucial for successful polymer clay jewelry. Consider factors such as brand, color range, and baking temperature. It’s important to follow the manufacturer’s instructions regarding baking temperature and times to ensure proper curing.
Once you have your clay, you can start exploring basic polymer clay techniques. These include conditioning the clay by kneading it until it becomes soft and pliable, shaping and sculpting the clay into desired forms, and creating textures and patterns using various tools.
Creating polymer clay pendants and charms is a great way to start incorporating polymer clay into your jewelry designs. You can mold the clay into different shapes and sizes, layer different colors to create patterns, and add texture using tools such as stamps or texture sheets. Once you’ve shaped your clay, bake it according to the manufacturer’s instructions to harden it.
After baking, you can further enhance your polymer clay jewelry by adding finishing touches. This can include sanding the clay to achieve a smooth surface, applying varnish or resin for a glossy finish, or using acrylic paints or alcohol inks to add color and depth to your pieces. The possibilities are endless with polymer clay, and you can continue to experiment and refine your techniques as you become more experienced.
Resin Jewelry
Resin jewelry is created by mixing a two-part resin compound, which then hardens to create a clear and durable material. This technique allows for embedding various elements, such as dried flowers, beads, or glitter, to create unique and personalized pieces. To get started with resin jewelry, you’ll need to familiarize yourself with the materials and tools required.
Understanding resin is important before diving into resin jewelry. Resin is a liquid compound made up of two parts: the resin itself and a hardener. When these two parts are mixed together, a chemical reaction occurs, resulting in the hardening of the resin. Resin is available in different types, such as epoxy resin or UV resin, each with its own properties and curing methods.
In addition to resin, you’ll need other materials such as molds, mixing cups, stirring sticks, and various embellishments. Silicone molds are commonly used for resin jewelry and come in a variety of shapes and sizes. Mixing cups and stirring sticks are necessary for accurately measuring and blending the resin compound.
Preparing resin and molds is the first step in creating resin jewelry. Follow the manufacturer’s instructions for mixing the resin compound and pouring it into your chosen molds. Allow the resin to cure according to the recommended curing time before removing it from the molds.
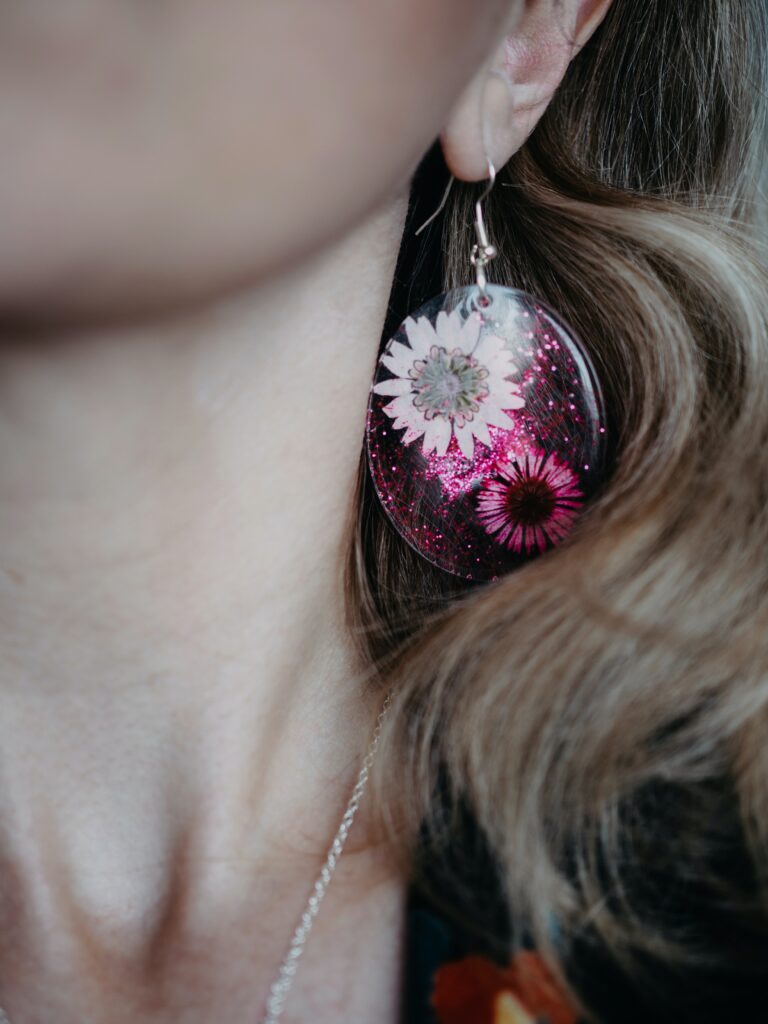
Once you have your resin pieces, you can start creating resin jewelry. This can involve adding findings such as jump rings or earring posts to turn your resin pieces into earrings or pendants. You can also embed elements such as dried flowers, beads, or glitter between layers of resin to create unique and personalized designs. Adding finishing touches, such as sanding and polishing the resin, can further enhance the beauty of your jewelry.
Braiding
Braiding is a technique that involves intertwining strands of material to create intricate patterns and designs. This versatile technique can be used to create bracelets, anklets, and necklaces using various types of cords or threads. To get started with braiding, you’ll need to familiarize yourself with a few basic braiding techniques.
Some of the basic braiding techniques include the classic three-strand braid, the flat braid, and the fishtail braid. The classic three-strand braid involves crossing three strands over one another in a specific pattern to create a woven effect. The flat braid is similar to the three-strand braid but lies flat instead of forming a round shape. The fishtail braid creates a more intricate pattern by working with four strands instead of three.
Choosing the right materials for braiding is important to achieve desired results. Consider options such as leather cord, satin cord, or embroidery thread, each with its own characteristics and suitability for different designs. Thinner cords or threads are suitable for delicate braiding patterns, while thicker cords work well for chunkier designs.
Start by creating braided bracelets, which are perfect for practicing and refining your braiding skills. Experiment with different braid types, color combinations, and bead additions to create unique and personalized bracelets. Once you’ve mastered bracelets, you can move on to making braided anklets or try your hand at braided necklaces.
Braiding necklaces offers a larger canvas to express your creativity and can be customized to suit your personal style. Combine different braid types, colors, textures, and lengths to create a statement piece that reflects your individuality.
Kumihimo
Kumihimo is a Japanese braiding technique that uses a special disk or loom to create intricate patterns and designs. This technique allows you to create bracelets, necklaces, and other jewelry pieces using various types of cords or threads. To get started with kumihimo, you’ll need to familiarize yourself with the tools and techniques involved.
The Kumihimo disk or loom is an essential tool for creating kumihimo patterns. This disk has slots and notches that guide the cords and help you achieve precise braiding. In addition to the disk, you’ll need cords or threads in different colors and thicknesses, as well as findings such as jump rings or magnetic clasps to complete your jewelry pieces.
Creating basic kumihimo patterns involves using cords or threads and arranging them in a specific order on the kumihimo disk. By following a specific braiding pattern and rotating the disk, you can create intricate and symmetrical designs. Start with simple patterns, such as a basic round braid, and gradually progress to more complex patterns as you become more comfortable with kumihimo.
Designing kumihimo bracelets is a great way to start incorporating this technique into your jewelry designs. Experiment with different color combinations, bead placements, and braid thicknesses to create unique and eye-catching bracelets. Once you’ve mastered bracelets, you can move on to making kumihimo necklaces, where the longer cords allow for more intricate and elaborate designs.
Finishing kumihimo jewelry involves attaching findings such as jump rings or clasps to complete your pieces. You can also add additional embellishments, such as charms or pendants, to enhance the overall look and style of your kumihimo jewelry.
Earring Making
Earring making is a fun and rewarding jewelry-making technique that allows you to create a wide variety of earring styles and designs. From simple drop earrings to hoop earrings and chandelier earrings, you’re sure to find a style that suits your personal taste. To get started with earring making, you’ll need to familiarize yourself with different earring findings and techniques.
There are several types of earring findings to consider when creating your own earrings. French hooks, also known as ear wires, are a popular option for creating simple drop earrings. They consist of a curved wire that passes through the earlobe and dangles below. Another common earring finding is the hoop earring, which is a circular wire or tube that forms a continuous loop. Hoop earrings come in various sizes and styles, allowing for endless creative possibilities. Chandelier earrings are a more elaborate earring style that features multiple tiers of beads or components.
Creating simple drop earrings is a great way to start your earring-making journey. This involves attaching beads, charms, or pendants to French hooks or other earring findings using jump rings or headpins. Experiment with different bead combinations, colors, and lengths to create unique and personalized drop earrings.
Making hoop earrings offers even more versatility in earring design. You can create basic hoop earrings by bending wire into a circular shape and adding beads or charms. Get creative by incorporating different metals, textures, and sizes to achieve a variety of hoop earring styles.
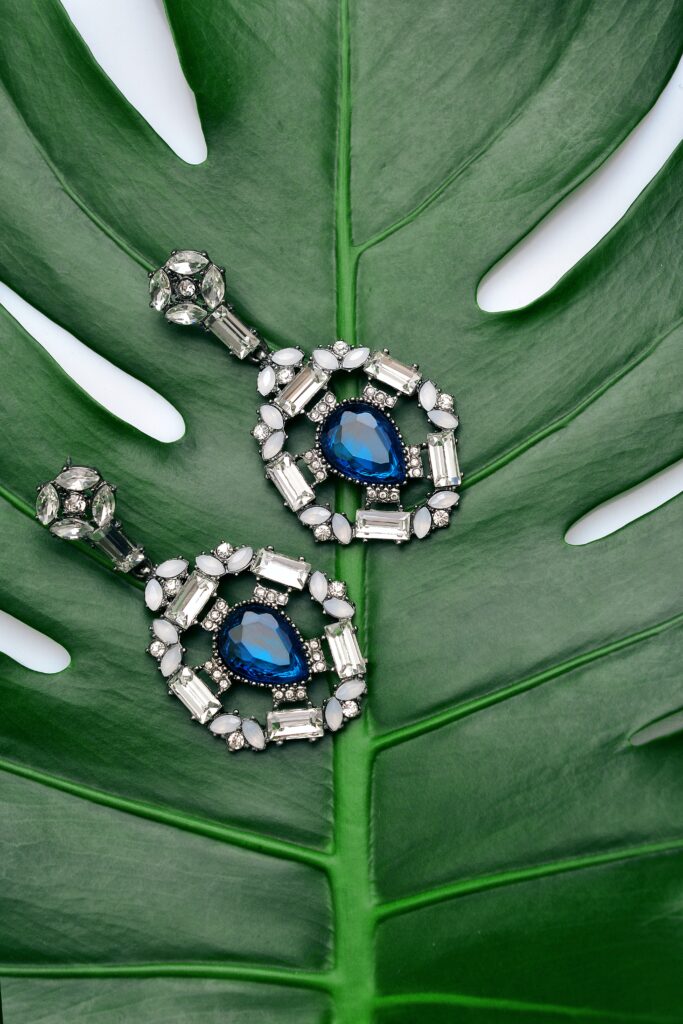
Designing chandelier earrings allows for more elaborate and eye-catching designs. Start by selecting a focal charm, pendant, or connector and attach it to a piece of chain. Then, add additional beads, charms, or findings to create a cascading effect. Chandelier earrings can be personalized to suit any style, whether you prefer a bohemian look or a glamorous aesthetic.
Adding embellishments and finishing touches to your earrings can enhance their overall appearance. Consider using wire-wrapped beads, chain dangles, or decorative findings to add visual interest and movement to your earring designs. Experiment with different techniques, such as wire wrapping or bead stringing, to create unique and one-of-a-kind earrings.
In conclusion, there are a multitude of jewelry-making techniques for beginners to explore. From wire wrapping to beadwork, metal stamping to macrame, polymer clay to resin jewelry, braiding to kumihimo, and earring making, the possibilities for creating beautiful and personalized jewelry are endless. By familiarizing yourself with the tools, materials, and techniques involved in each of these techniques, you’ll be well on your way to creating your own unique and stunning pieces of jewelry. So grab your tools and let your creativity shine as you embark on your jewelry-making journey!

